For serving from both zones, set the cold zone to 45-50°F for whites and sparkling and the warm zone to 60-65°F for reds. If you are storing in one and serving from the other, set the storage zone to 55°F and leave it. Check your warm zone reaches at least 60°F before assuming either is possible.
This page sits in Wine Storage Guides, where the rest of the category is compared the same way.
How this page is funded. Cork & Cool earns a commission if you buy through the Amazon links below, at no extra cost to you. It never changes the order of this list — see our editorial policy and affiliate disclosure. We do not publish prices, because a stale number helps nobody.
Our picks
The configurations below depend entirely on what each zone can actually reach. These three publish their ranges — and the difference between them determines which of the three setups you can run.
How this page is funded. Cork & Cool earns a commission if you buy through the Amazon links below, at no extra cost to you. It never changes the order of this list — see our editorial policy and affiliate disclosure. We do not publish prices, because a stale number helps nobody.
#1 — The 24-inch slot
Newair AWR-460DB
Forty-six bottles across two zones in a 23.4-inch cabinet rated for built-in or freestanding use — the default answer for a standard kitchen opening.
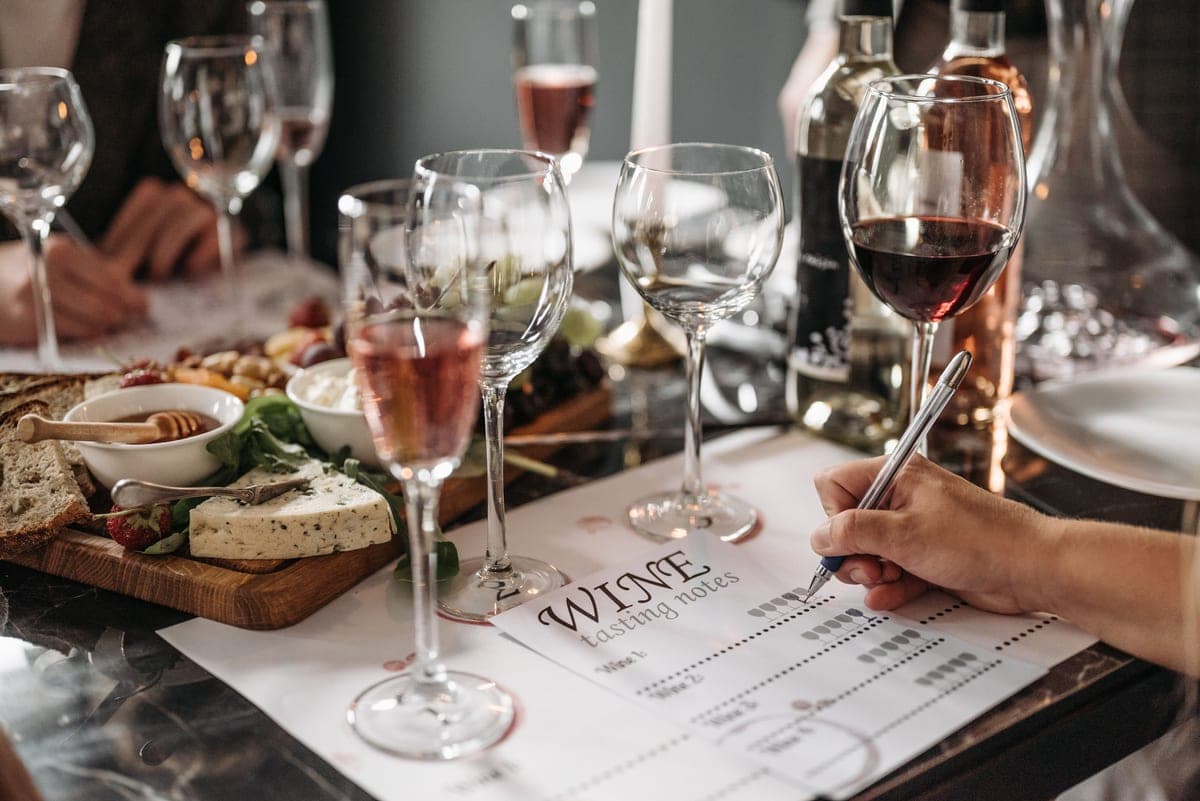
Illustrative photograph — not an image of the Newair AWR-460DB.
Published specifications
Capacity
46 bottles
Zones
2
Cooling
compressor
Temperature range
40–66°F
Noise rating
Not published by the manufacturer
Installation
both
· Exterior: 23.40 in W x 22.40 in D (24.00 in with handle) x 33.00 in H
Rated for built-in installation, so the front vent is designed for an enclosed opening
23.4-inch width drops into a standard 24-inch cabinet run
Two independently set zones across the full 40-66°F span
What does not
No published dB rating, so noise cannot be compared numerically against rivals
46 bottles is the manufacturer's count using standard Bordeaux bottles — heavy Burgundy or Champagne bottles reduce it
Who should skip it. Skip it if your opening is under 24 inches, or if you need more than about four dozen bottles — stepping up to a 160-bottle cabinet costs less per bottle.
A dual-zone cabinet can be set up three sensible ways. Pick the one that matches how you use wine, not the one that uses the most of the cabinet’s range.
Serving from both zones
The configuration the cabinet was designed for. Cold zone 45–50°F for whites, rosé and sparkling; warm zone 60–65°F for reds. Everything in the cabinet is ready to pour at any moment, which is the whole appeal.
The cost: nothing in the cabinet is being stored at cellar temperature, so this is a bar, not a cellar. Fine — just do not also expect it to be aging anything.
Storing in one, serving from the other
The configuration most people should actually use. Larger zone at 55°F for storage, untouched; smaller zone at whatever you are serving next. You get a real cellar and a serving shelf in one cabinet, which is a better use of a domestic-sized appliance than turning all of it into a bar.
Both zones at 55°F
Unfashionable and sometimes correct. If you bought dual zone and then discovered you are really storing rather than serving, set both zones to 55°F and you have a single-zone cabinet with a partition in it. No harm done, and better than forcing a serving setup you do not use. If you are still choosing, the honest comparison is single zone vs dual zone.
Check the warm zone’s ceiling first
Before any of the above: find out what your warm zone can actually reach at the top of its range. This is the most commonly omitted specification in dual-zone wine fridges and the one that quietly makes a cabinet unfit for purpose.
A cabinet whose warm zone caps at 50°F cannot serve a red at 60–65°F, and cannot hold one at 55°F storage temperature either. Half the cabinet is then good only for whites. You have paid for two zones and received a smaller white-wine fridge.
The three cabinets here are honest about it. The Newair AWR-460DB runs 40–66°F and the Whynter BWR-1642DZ 40–65°F, both with full-range zones, so any configuration above is available. The Ivation 18-bottle dual-zone thermoelectric unit runs 46–64°F, which reaches red serving temperature but not sparkling.
Which zone goes where
Cold below, warm above, which is how nearly all of these cabinets are built and not an arbitrary convention: cold air is denser and settles, so the cold zone at the bottom works with physics instead of against it. A cabinet asked to hold its cold zone on top fights convection continuously.
Two consequences worth knowing. The boundary between zones is a gradient, not a wall— the shelf immediately either side of the divider sits closer to the middle than to its zone’s setting. Put the bottles you care most about in the middle of a zone rather than at its edge. And if the zones are different sizes, the larger one should carry the job with more bottles, which for most people is storage.
Practical notes
Give it a day to settle. After changing a setting, a cabinet takes hours to stabilize. Judge it the next day, not in twenty minutes.
Verify with your own thermometer. One in each zone for a day tells you what the display cannot: whether both zones hold, and how much the gradient near the divider matters in your cabinet.
Loading a zone with warm bottles raises it temporarily. Six room-temperature bottles into a small zone will read high for several hours. That is the cabinet working, not failing.
Do not chase the display. Repeated adjustment is itself instability, and stability is the thing that matters — temperature settings.
If a zone will not reach its setting, check ventilation and ambient temperature before assuming a fault: wine fridge not cooling.
Questions people actually ask
▸ What should I set my dual zone wine fridge to?
For serving from both zones: cold zone 45–50°F, warm zone 60–65°F. If you are storing in one zone and serving from the other, set the storage zone to 55°F and leave it alone.
▸ Which zone should be colder, top or bottom?
Bottom. Cold air is denser and settles, so a cold lower zone works with convection rather than against it — which is how almost all dual-zone cabinets are built.
▸ Can I set both zones to the same temperature?
Yes, and it is a perfectly sensible thing to do if it turns out you are storing rather than serving. Set both to 55°F and you effectively have a single-zone cabinet.
▸ Why won't my warm zone go above 50°F?
Because that is its published ceiling — some dual-zone cabinets cap the warm zone below cellar temperature. It is the most commonly omitted spec in the category, and it makes that zone unsuitable for reds. Check the per-zone range before buying.