If you are storing wine to drink later, buy single zone: one steady temperature, no internal partition and more usable capacity for the same exterior size. If you are serving from the cabinet, buy dual zone so reds and whites each sit at their own serving temperature. Check that the warm zone reaches at least 60°F before you commit.
This page sits in Wine Fridges, where the rest of the category is compared the same way.
How this page is funded. Cork & Cool earns a commission if you buy through the Amazon links below, at no extra cost to you. It never changes the order of this list — see our editorial policy and affiliate disclosure. We do not publish prices, because a stale number helps nobody.
Our picks
The first two are the cleanest comparison in the category: the same manufacturer, the same 24-inch cabinet, one holding 166 bottles at a single temperature and the other 164 across two zones. That two-bottle difference is what the partition costs at this size.
How this page is funded. Cork & Cool earns a commission if you buy through the Amazon links below, at no extra cost to you. It never changes the order of this list — see our editorial policy and affiliate disclosure. We do not publish prices, because a stale number helps nobody.
#1 — One temperature, 166 bottles
Whynter BWR-1662SD
The single-zone sibling: 166 bottles on 16 shelves at one setting, which is what long-term storage actually wants.
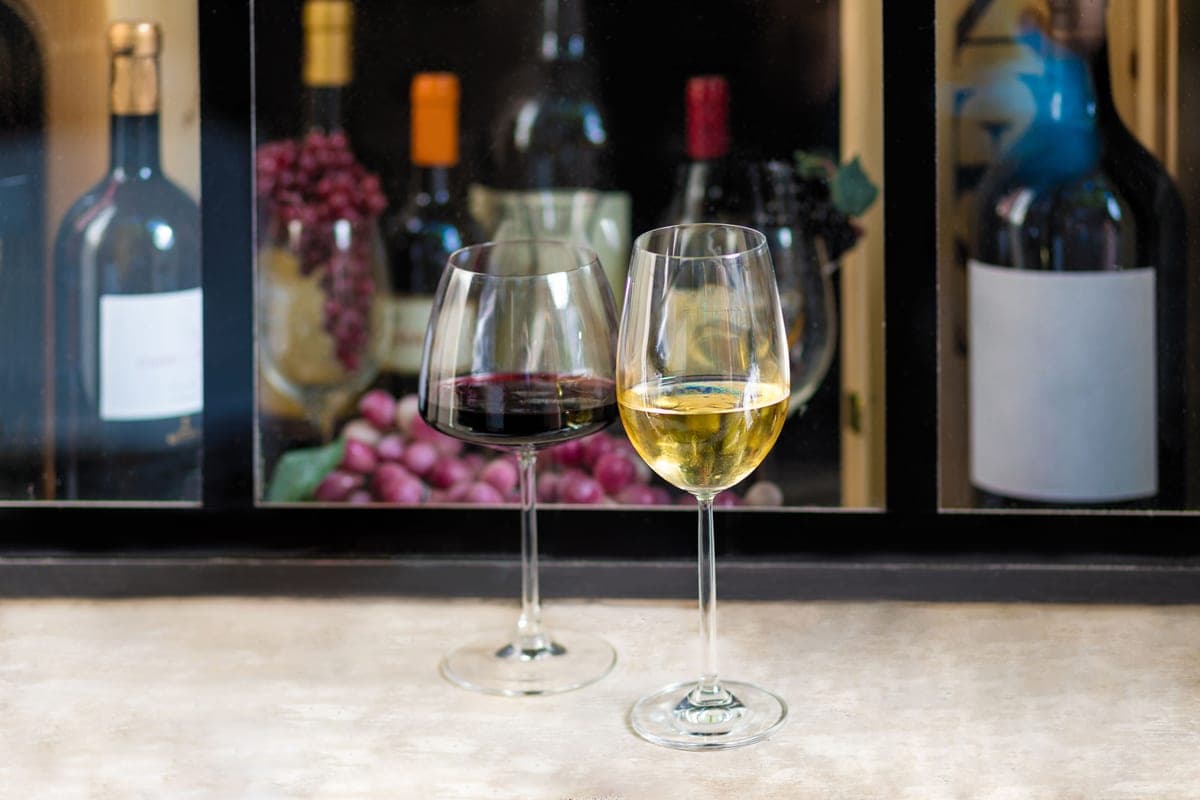
Illustrative photograph — not an image of the Whynter BWR-1662SD.
Published specifications
Capacity
166 bottles
Zones
1
Cooling
compressor
Temperature range
40–65°F
Noise rating
Not published by the manufacturer
Installation
built-in
· Capacity: 166 standard 750 ml bottles
· Shelving: 16 removable wooden flat slide-out shelves plus a wire display shelf
Rated for built-in installation, so the front vent is designed for an enclosed opening
23.4-inch width drops into a standard 24-inch cabinet run
Two independently set zones across the full 40-66°F span
What does not
No published dB rating, so noise cannot be compared numerically against rivals
46 bottles is the manufacturer's count using standard Bordeaux bottles — heavy Burgundy or Champagne bottles reduce it
Who should skip it. Skip it if your opening is under 24 inches, or if you need more than about four dozen bottles — stepping up to a 160-bottle cabinet costs less per bottle.
A single-zone cabinet holds its entire interior at one setting. There is no internal divider, so shelf spacing is uniform top to bottom and the whole volume is usable for whatever you want to put in it.
A dual-zone cabinet is physically divided into two compartments, each with its own thermostat and its own door seal against the other. You set them independently — typically cooler below, warmer above.
That is the whole mechanical story. The interesting part is that the right answer depends entirely on a question most buyers never get asked.
Storing wine vs serving wine
Are you storing wine, or serving it? They want opposite things.
Storing means keeping bottles to drink in months or years. Wine ages best at one steady temperature, and the widely cited target is around 55°F — and it matters far more that the temperature is stable than that it is exactly 55. Every bottle in the cabinet wants the same thing, so a second zone buys you nothing and costs you capacity. Single zone.
Serving means the cabinet is where you pull a bottle from to open tonight. Now the bottles want different things: reds pour best at roughly 60–65°F, whites at 45–50°F, sparkling colder still. One temperature cannot satisfy both, so you either compromise or you partition. Dual zone.
The framing that resolves it: a single-zone cabinet is a cellar, and a dual-zone cabinet is a bar. Both are legitimate. Buying the bar when you wanted the cellar is how people end up with a 46-bottle cabinet that holds 30 bottles of the wine they actually own. Our dual-zone temperature guide covers what to set each zone to once you have chosen.
The dual-zone spec trap
This is the part worth reading twice, because it is where money gets wasted.
Some dual-zone cabinets cap their warm zone below cellar temperature. A cabinet whose upper zone tops out at 50°F cannot hold a red at serving temperature or at 55°F storage temperature. Half the cabinet is then only good for whites. You have paid for two zones and bought yourself a smaller white-wine fridge.
So check the published range per zone, not for the cabinet as a whole. A marketing figure of “40–65°F” may describe the cabinet’s combined span, with the cold zone covering 40–50 and the warm zone 50–65 — or it may mean both zones cover the full span. Those are very different products at the same headline number.
The cabinets on this page are all honest on this point: the Whynter BWR-1642DZ runs 40–65°F and the Newair AWR-460DB 40–66°F, in both cases with two full-range zones, which is why they are the ones we recommend for mixed use. Where a manufacturer does not publish per-zone figures, this site says so rather than assuming the generous reading.
What a second zone costs in capacity
A partition, a second evaporator and a second set of controls all take volume that would otherwise hold bottles. How much depends on the cabinet size, and the pattern is worth knowing: the bigger the cabinet, the less the partition costs you proportionally.
Zone count against usable capacity (manufacturer figures)
Cabinet
Zones
Bottles
Published range
Whynter BWR-1662SD
1
166
40–65°F
Whynter BWR-1642DZ
2
164
40–65°F
Newair AWR-460DB
2
46
40–66°F
Ivation 18-Bottle Dual-Zone
2
18
46–64°F
At 24 inches wide and 160-plus bottles, the two Whynter cabinets differ by two bottles — the partition is effectively free, so if you might ever want two zones at that size, take them. Under about 30 bottles the arithmetic inverts: a partition in a small cabinet costs a meaningful share of a small capacity, and you also end up with two compartments too small to be useful separately. Below roughly 20 bottles, single zone is usually the better buy even for serving.
Bottle counts are a best case in any event: they assume standard 750ml Bordeaux bottles. Champagne, Burgundy and most Pinot bottles are fatter, and a cabinet rated for 46 may hold well under 40 of them. Work out what you actually need in what size wine fridge do I need.
Questions people actually ask
▸ Do I need a dual-zone wine fridge?
Only if you serve wine straight from the cabinet and want reds and whites each at their own serving temperature. If you are storing wine to drink later, a single zone at a steady 55°F is the better buy and gives you more usable space for the same footprint.
▸ Can I store reds and whites together in a single-zone fridge?
Yes. For storage, all wine wants the same thing — one steady, cool temperature, conventionally around 55°F. Single zone is the correct choice for mixed storage. You simply take a bottle out a little before serving: a red wants a short while at room temperature, a white a short while in ice.
▸ What temperature should each zone be set to?
For serving: the cold zone at roughly 45–50°F for whites and sparkling, the warm zone at roughly 60–65°F for reds. If one zone is instead being used for storage, set that one to 55°F and leave it alone. Full detail in the dual-zone temperature guide.
▸ Does a dual-zone fridge hold fewer bottles?
Yes, but the penalty shrinks as cabinets get bigger. Whynter’s 24-inch pair differs by two bottles — 166 single zone against 164 dual zone. In an 18-bottle cabinet the same partition costs a much larger share of a much smaller capacity, which is why single zone usually wins at small sizes.