The four things the eye actually reads
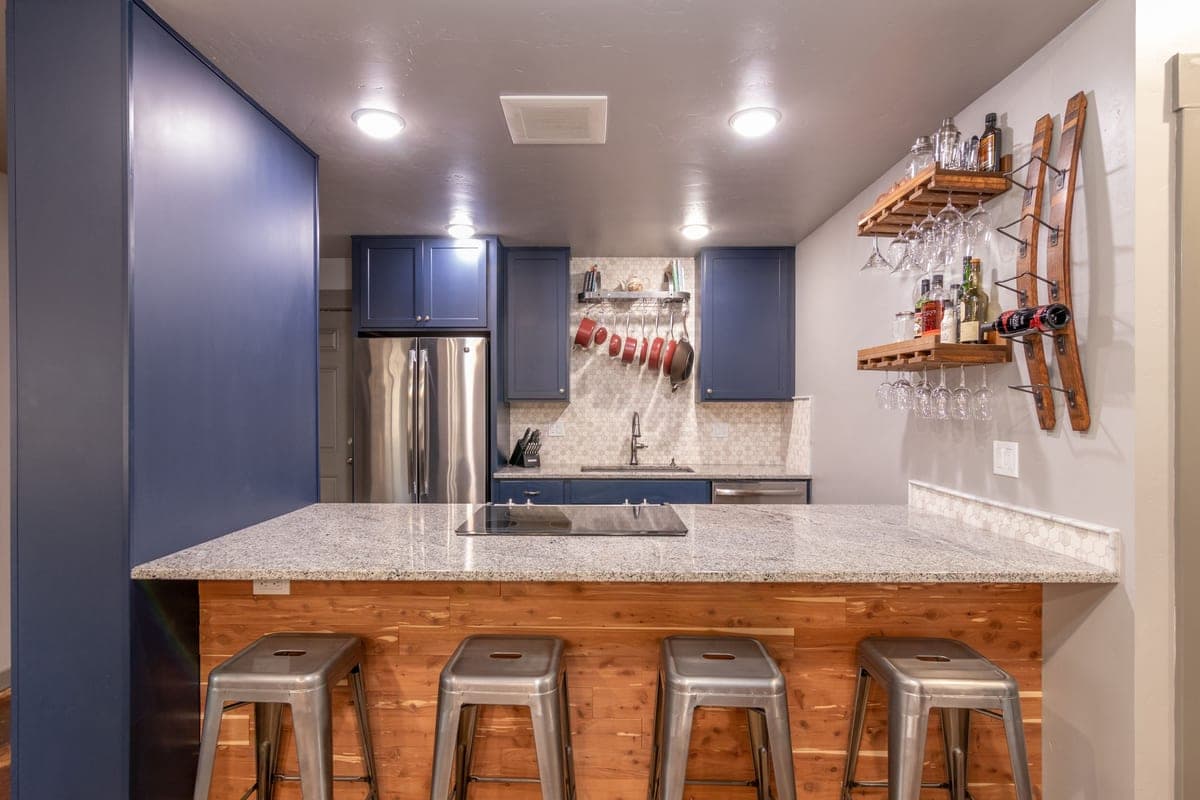
“Built in” is a judgement your eye makes in about a second, and it is making it on four cues, none of which is the brand badge.
- The front plane. Does the door sit flush with the cabinet doors on either side, or proud of them? A door standing half an inch forward of its neighbors reads as an object pushed into a gap.
- The toe-kick line. Does the dark recess under the cabinet continue unbroken across the appliance, or does the appliance sit on the floor with its own different-height base?
- The reveals. The vertical gap on each side. Two even gaps read as a designed shadow line; one wide gap and one narrow one reads as a mistake.
- The top. Does the counter run over it continuously, or is there a visible seam and a lip?
Fix those four and the cabinet looks built in whether or not it is. Miss any one of them and an expensive panel-ready unit still looks like it arrived separately. The useful consequence: most of your budget here belongs with the carpenter, not the appliance.
Panel-ready: what it costs and what it buys
A panel-ready cabinet is built to take a custom door panel made from your cabinetry material, so the appliance disappears into the run entirely. The Dacor DRW24G7500APDA is the example in our registry: 24 inches, 41 bottles, two zones, panel-ready, with a GlideRack shelf system Dacor specifies to eliminate vibration.
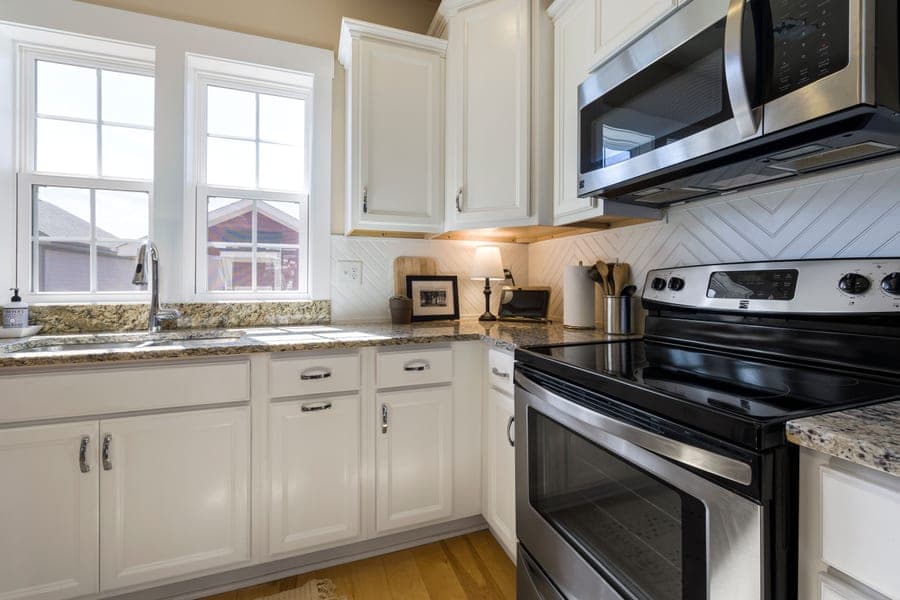
What you are buying is a complete disappearance, which only pays off in a kitchen where everything else is also integrated. What you are paying is not only the appliance premium but a custom panel, made and finished to match, which means a joinery order and a lead time. In a kitchen with a stainless range and a stainless dishwasher, that money buys nothing at all — a stainless wine cabinet in that room is already consistent, and consistency is what the eye is actually reading.
A middle path worth knowing about: a glass-fronted cabinet is never truly invisible even when panel-ready, because the door is the point. If you want the wine on display, the integrated look you are after is really about the frame around the glass, which is where the next three sections do the work. Built-in wine fridge ideas has the layout options.
Filler strips, and why the gap matters more than the cabinet
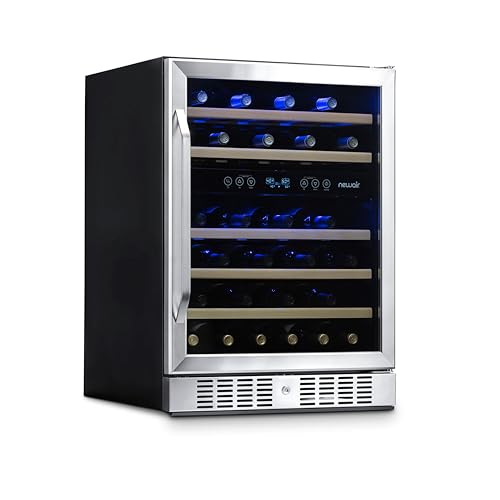
Almost no appliance is exactly as wide as the opening it goes into, and that is deliberate. The Newair AWR-460DB publishes 23.40 inches against a nominal 24-inch opening: six tenths of an inch of clearance, which has to go somewhere.
If you do nothing, it goes to one side — the cabinet slides across, one gap closes up and the other opens to more than half an inch. The fix is a pair of filler strips, cut from the same material as the cabinet fronts, that split the difference evenly. Three details make them work:
- Equal on both sides. Two even reveals read as intentional. Unequal ones never do, however small.
- Set back, not flush. A filler set slightly behind the door fronts throws a shadow line, which is what integrated cabinetry looks like. A filler brought flush looks like a patch.
- Never into the clearance. Fillers go beside the appliance, not into the ventilation gap the manufacturer published. This is the one place where the decorative job and the thermal job collide, and the thermal one wins every time — see the clearance guide.
The plinth line is the giveaway
Run your eye along a fitted kitchen and the strongest horizontal line in the room is the shadow under the cabinets. Break it and everything above the break looks added on.
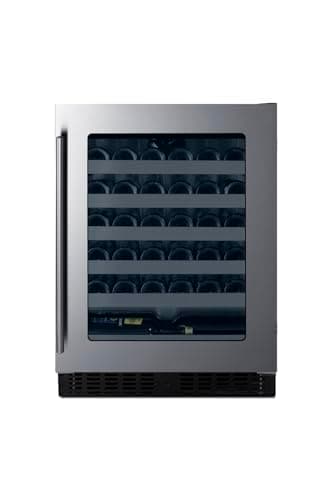
Most built-in wine cabinets are designed around this. The Summit ASDW2412 publishes adjustable legs and a sliding kickplate cover that take it from 32 inches — ADA counter height — up to 34 inches for a standard run, which exists precisely so the toe recess can be made to line up with the cabinetry on either side. Use it. Set the legs so the top of the appliance matches the underside of the counter, then slide the kickplate to meet the plinth height of the adjacent units.
Two cautions. The kickplate is also the ventilation grille on a forward-venting cabinet, so it can be aligned but never blocked or faced over with a solid plinth board. And if the floor is not level — most are not — level the cabinet to the counter line rather than to the floor, or the top gap will taper visibly across 24 inches.
Doing it with a freestanding cabinet
You can get most of the look with a freestanding cabinet, as long as you do not enclose it. The constraint is absolute — a freestanding unit cannot be boxed in — but “not enclosed” and “looks integrated” are not the same thing.
What works:
- End of a run. A cabinet at the end of a counter has air on one side by definition, takes the counter over the top, and with a matching end panel reads as part of the kitchen.
- An alcove with an open back. A recess with a void behind it — a stud wall cavity, a utility space, a run of open shelving on the other side — can give a rear-venting cabinet somewhere to breathe while still framing it.
- A deliberate standoff. Set the cabinet back from the counter edge with a visible shadow gap all round and the arrangement reads as designed rather than wedged. Furniture, not an afterthought.
What does not work is any version where the sides and back are closed and the only honest airflow is imaginary. The cabinet will run warm, the wine will age badly, and the look will have cost you the appliance.
Getting the order of work right
Almost every bad outcome here is a sequencing problem rather than a taste problem. The order that works:
If you are doing the install yourself, the under-counter install guide covers the physical steps and the circuit question covers the electrical ones. And once the cabinet is in, setting up a new wine fridge covers the first twenty-four hours, which matter more than people expect.